How to Use a Maintenance Topcoat for a Professional-Grade Shine at Home
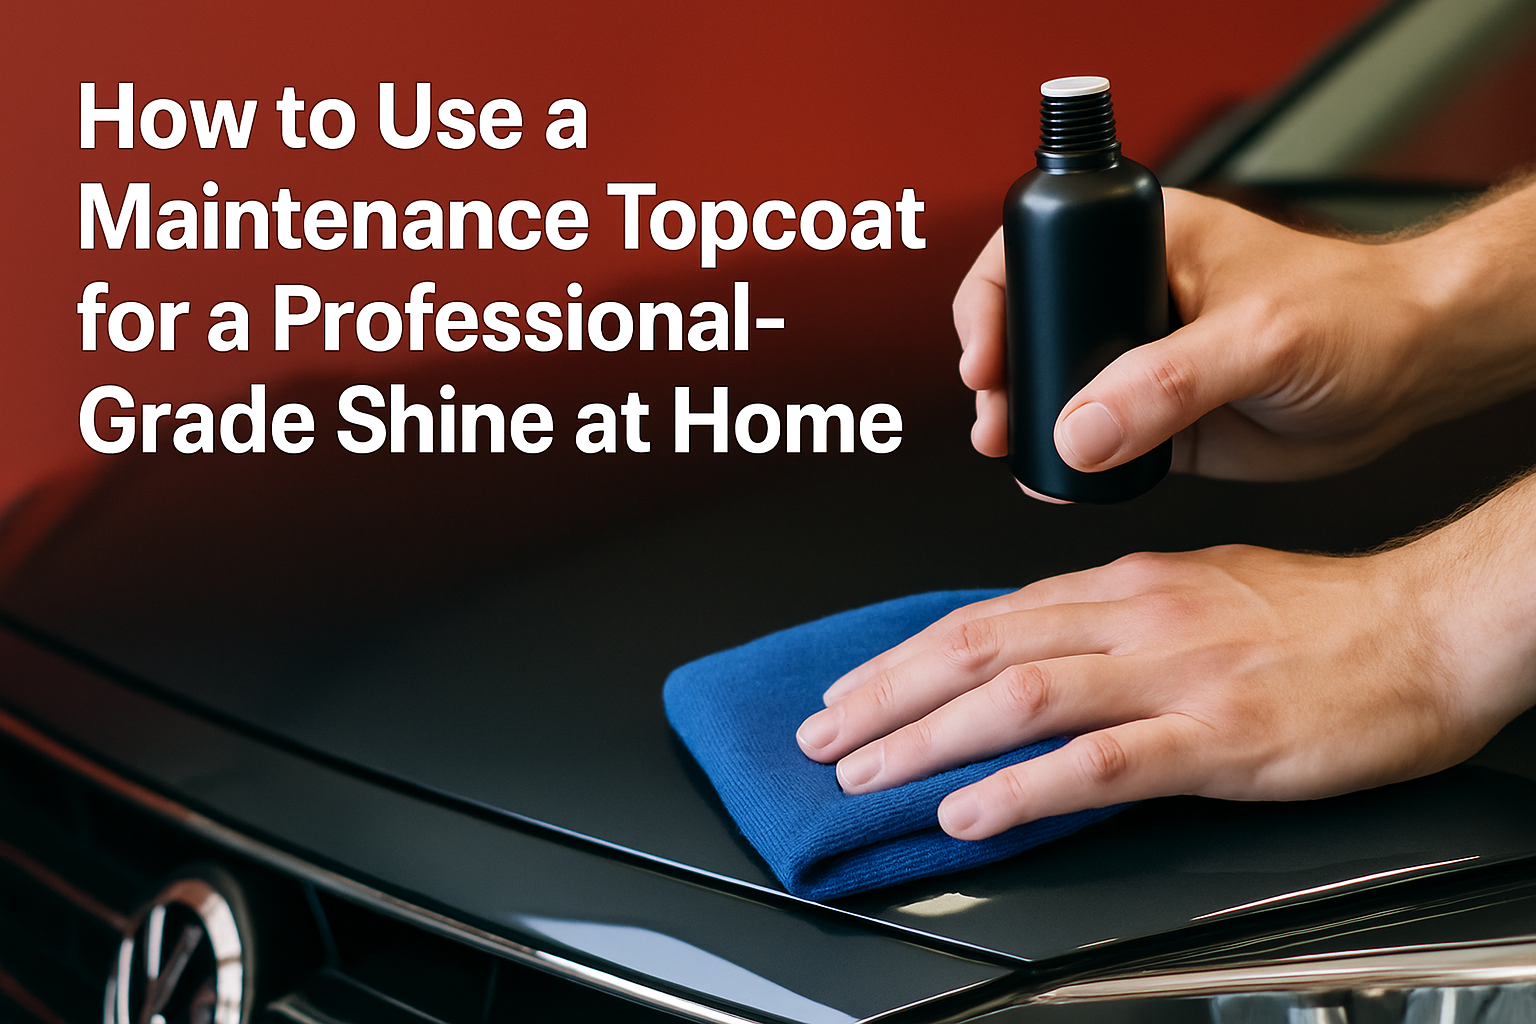
How to Use a Maintenance Topcoat for a Professional-Grade Shine at Home
A Quick Overview: What This Refinisher Does and When to Use It
When your floors look tired but not destroyed, a maintenance topcoat can transform them faster than a full sanding. That is exactly where a water-based maintenance topcoat shines: it lays down a clear, durable gloss layer that fills micro-scratches, revives sheen, and smooths traffic-worn lanes on polyurethane-finished hardwood and laminate. Think of it like a screen protector for your floor’s finish rather than a replacement screen. You are not changing the wood; you are refreshing the clear coat so the wood grain pops again.
Many homeowners ask, will this replace refinishing? Not quite, but it can delay it meaningfully. Industry surveys suggest light restoration coats can extend the life of a finish by 12 to 24 months in average-traffic homes, saving hundreds compared to full sanding and recoating, especially in living rooms and hallways. If you can see raw wood, deep gouges, cupping, or loose boards, it is time to call in a pro. But if your floor is structurally sound and simply dull, a gloss maintenance topcoat is a smart, budget-friendly tune-up.
What Makes a Water-Based Maintenance Topcoat Different?
This refers to ready-to-use, water-based polymer maintenance formulations designed for sealed hardwood and laminate floors. Because these products are water-based and low-odor, they can usually be applied in lived-in spaces without disruptive fumes, an important comfort factor in family homes. Unlike waxes that can yellow or attract dust, a modern polymer topcoat tends to dry clear and quickly, and it is compatible with routine cleaning products made for polyurethane finishes. That means fewer surprises the next time you mop.
Another advantage is speed. Many water-based maintenance topcoats note fast drying times, often within 30 to 45 minutes to the touch, which typically allows a recoat the same day and light foot traffic by evening. For homeowners in Big Lake and Minneapolis who juggle tight schedules, that quick return to normal life is invaluable. And if you are chasing a gleaming, mirror-like look, a gloss formula reflects light effectively, making rooms feel brighter and larger without changing the wood species or stain.
| Attribute | Typical Value or Note | Why It Matters |
|---|---|---|
| Type | Water-based polymer, ready to use | Low odor, easy cleanup, fewer application steps |
| Surface Compatibility | Polyurethane-finished hardwood and laminate | Protects existing finish without sanding |
| Not For | Waxed, oiled, or unfinished wood; stone; tile | Prevents adhesion issues and hazing |
| Dry Time | Approx. 30–45 minutes to touch | Faster projects, earlier recoat |
| Recoat Window | Often same day | Builds deeper gloss and protection |
| Cure Time | Light traffic at 24 hours; full cure up to 7 days | Plan furniture placement and rugs accordingly |
| Coverage | Approx. 25–50 m² per litre depending on porosity | Estimate quantity and cost accurately |
| Gloss Level | High-gloss finish | Enhances reflectivity and depth of grain |
| Odor/VOC (volatile organic compound) | Low-odor, water-based | More comfortable indoor application |
| Tools | Microfiber flat mop or applicator pad | Minimizes streaks and lint |
Always read the product label for the most current instructions and limitations. Environmental factors like humidity and temperature influence drying and cure times, so adjust your plan accordingly. When in doubt, test in an inconspicuous area first to confirm compatibility and appearance.
Step-by-Step: Prep, Application, and Drying for a Mirror-Like Gloss
Topcoat success comes from preparation. Begin by clearing the area and vacuuming thoroughly with a brush head that will not scratch. Mop with a dedicated hardwood and laminate cleaner to remove oily residues, then let the surface dry fully. A tack cloth pass can catch remaining dust, because even tiny particles can telegraph through a glossy coat. Imagine a simple diagram: a clean room, arrows flowing from entry to exit, and a small no-go zone for pets and kids during drying.
- Protect and plan. Tape off thresholds and baseboards. Work from the far corner toward your exit so you do not paint yourself into a corner. Good lighting helps you see wet edges.
- Assemble gear. You will need the maintenance topcoat, a clean microfiber applicator, a paint tray or shallow pan, and basic PPE (personal protective equipment) like gloves and safety glasses.
- Prime the pad. Lightly dampen your applicator with water and wring thoroughly. A slightly moist pad glides better and reduces initial streaking.
- Apply thin, even coats. Pour a small amount into the tray. Load the applicator and lay the finish with the grain in smooth, overlapping passes. Avoid pushing hard, which can create ridges.
- Maintain a wet edge. Each new pass should overlap the previous one by about a pad-width, feathering out any visible lines as you go.
- Let it dry. Respect the dry time on the label before recoating. Typical touch-dry is around 30–45 minutes, but conditions vary.
- Consider a second coat. A second thin coat deepens gloss and evens sheen, especially in high-traffic lanes near kitchens and entryways.
- Protect the cure. Wait at least 24 hours before returning furniture and keep rugs off for several days. Felt pads under furniture feet prevent early scuffs.
Want a professional tip from the field? Decant only what you need into the tray and keep the bottle capped to reduce air exposure. If you spot a hair or dust nib, do not chase it aggressively while the coat is tacking up. Instead, allow the finish to dry, then lightly abrade with a white pad and recoat the affected area. Patience beats overworking and prevents hazing.
Avoid These Common Mistakes and Safety Notes
Most application issues come from rushing. Thick coats slow drying and raise the risk of lap marks. Working in direct sunlight can also accelerate surface drying, creating drag. Instead, aim for consistent, thin passes and steady room conditions. If your subfloor feels spongy or boards are loose, a cosmetic topcoat will not fix structural problems. Address repairs first so your gloss layer has a stable, uniform base.
- Do not use on waxed, oiled, or unfinished wood. The maintenance topcoat may not bond correctly, leading to peeling or streaking.
- Skip steam mops before application. Excess moisture can swell edges on laminate and compromise adhesion.
- Avoid mixing products. Do not blend with other polishes, waxes, or cleaners in the tray.
- Ventilate moderately. Even low-odor products benefit from airflow; use fans to move air across, not directly onto, the floor.
- Mind safety. Wear PPE (personal protective equipment) and keep pets and children out of the workspace until dry.
Curious about coverage? Floors in older homes often absorb more due to micro-texture and previous wear patterns. As a rough planning number, a 1 litre container can often refresh an average bedroom or a small living area, while open-plan spaces may require more. Track your square footage and plan your exit path to avoid stepping back onto wet finish.
Aftercare: Daily, Weekly, and Seasonal Maintenance
Once your new gloss layer is down, care becomes simple. Daily, capture grit with a soft broom or vacuum set for hard floors. Weekly, damp-mop with a cleaner formulated for polyurethane finishes. This preserves clarity and reduces dulling film. Place mats at entry points to catch abrasives like sand and road salt, which can act like sandpaper underfoot, especially in winter around Minneapolis.
Furniture pads are a must, and rolling chairs need hard-floor-safe casters. In kitchens, consider area runners in front of sinks and stoves where drips occur. Seasonally, review high-traffic corridors and be open to a quick maintenance recoat before busy hosting seasons. Real estate reports suggest that well-maintained hardwood can boost perceived home value, and a sparkling finish photographs better for listings.
| Frequency | Task | Notes |
|---|---|---|
| Daily | Dry sweep or vacuum | Use a soft brush to avoid micro-scratches |
| Weekly | Damp mop with hardwood/laminate cleaner | Lightly damp, not wet; avoid soap-based cleaners |
| Monthly | Inspect high-traffic lanes | Plan touch-ups or protective runners if needed |
| Seasonal | Recoat as needed | One thin coat can refresh gloss in busy households |
| As Needed | Spot repair minor scuffs | Buff lightly with a white pad, then recoat locally |
DIY (do it yourself) vs Professional: When to Call Majestic Hardwood Floors
There are times when a maintenance gloss is perfect and times when professional intervention ensures long-term performance. If your floor has deep scratches, gray water damage, gaps, or moving boards, a cosmetic topcoat will only highlight imperfections. That is when Majestic Hardwood Floors steps in. As a family-owned specialist with over 40 years of experience, the team delivers expert diagnosis, professional floor installation with precision and care, full refinishing that restores the surface to like-new, and targeted floor repair to fix scratches, dents, and damaged boards.
Homeowners in Big Lake, Minneapolis, and surrounding areas trust Majestic Hardwood Floors because they solve problems at the root, not just the surface. Poorly installed or neglected floors can diminish both aesthetics and structure, but a tailored plan can reverse course. Whether you need a full sand-and-finish, board replacements, or a new installation that aligns with your lifestyle and climate, the right pro work turns a weekend fix into a lasting upgrade.
| Scenario | Best Option | Why | Typical Time/Cost Considerations |
|---|---|---|---|
| Light surface wear, dullness, minor scuffs | DIY (do it yourself) topcoat with a consumer maintenance product | Fast, cost-effective sheen restoration without sanding | Half day; product cost only |
| Deep scratches, exposed wood, gray water stains | Professional refinishing | Requires sanding, stain matching, and durable topcoats | 1–3 days; professional-grade durability |
| Loose boards, hollow spots, gaps, squeaks | Professional repair | Structural fixes before cosmetic layers | Varies; longevity and safety improved |
| Poorly installed or mismatched flooring | Professional installation | Correct subfloor prep, layout, and acclimation | Project-based; long-term stability and beauty |
| Busy household needing minimal downtime | Pro planning and phased work | Staged rooms, dust control, predictable schedule | Optimized for daily life continuity |
Real-World Results, Stats, and Case Studies
Majestic Hardwood Floors frequently encounters homes where the finish looks flat but the wood underneath is healthy. In one Big Lake family room, a careful clean and two thin coats of a maintenance topcoat lifted reflectivity by an estimated 30 percent based on light meter readings, and foot traffic lanes blended smoothly into surrounding areas. The family postponed a full refinish by about a year, saving budget for a future stair project. A small investment of time and product created a big visual win.
Data from buyer surveys suggest that well-kept hardwood is among the top three interior features influencing purchase decisions. That matters for resale, rental listings, and appraisals. In Minneapolis condos with heavy sunlight, a consistent gloss layer also helps unify boards that vary slightly in sheen, producing a cohesive look in photography. The lesson is simple: surface clarity and uniformity add polish to your space, both in person and online.
Troubleshooting: Streaks, Hazing, and Peeling
Even careful applications can hit snags, and there is usually a straightforward fix. Streaks often come from a dry applicator or working too long in one spot as the finish begins to tack. The remedy is to keep the pad lightly damp, apply in steady passes, and avoid backtracking over partially dried areas. If light hazing appears, it may be residue from a previous cleaner. In that case, allow the coat to cure, then clean with a neutral, residue-free product and consider a thin recoat to restore clarity.
Peeling indicates a compatibility issue or contamination. If you suspect wax or oil in your floor’s history, stop and consult. Majestic Hardwood Floors can assess finish types, test adhesion, and perform professional refinishing when needed. They can also repair subfloor or board problems that a topical coat cannot resolve. When you fix the underlying cause, your next topcoat, whether DIY (do it yourself) or professional, will look better and last longer.
Pro Tips from Majestic Hardwood Floors for a Flawless Finish

Pros obsess over edges, light, and dust control. Work along baseboards first with a small applicator pad so you can bridge into open areas seamlessly. Set up indirect airflow by placing a fan in a nearby hallway, pulling air out of the room rather than blowing directly at the floor. If you are coating a large space, divide it into lanes and time your passes so you meet at wet edges. For hallways, run lengthwise with the boards to minimize cross-grain reflections.
- Test a closet or under-furniture square. Confirm color, sheen, and leveling before the main area.
- Use fresh pads. Lint, old residues, or stiff fibers are the enemies of a glassy finish.
- Mind the lighting. Rake light from a window is the best inspector; move your body to see reflections at different angles.
- Leave doors ajar for airflow during cure, but block pets. Paw prints are the classic oops that require a spot recoat.
- Document product and date. If you love the result, you will know exactly what to repurchase in a year.
If you prefer to hand off the project, Majestic Hardwood Floors offers expert floor refinishing services to restore floors, as well as professional floor installation with precision and care for new builds and remodels. Their floor repair can fix scratches, dents, and replace damaged boards so your maintenance coat goes over a solid foundation. That combination of craftsmanship and planning is what keeps floors beautiful for decades.
When a Maintenance Coat Is Not Enough
There are clear signs that a polish alone will not deliver. If water drops quickly darken the wood, the finish is gone and you are seeing absorption into the fibers. If edges are swollen on laminate or boards are cupping in hardwood, moisture has done more than surface damage. If stain color is uneven, only sanding and restaining will correct tone consistency. In these cases, a trusted pro is your best ally.
Majestic Hardwood Floors brings decades of regional experience to tricky decisions like whether to refinish or replace, and how to phase work so your household keeps running. They can advise on species, widths, and finishes that match Minnesota climate swings, then execute with clean job sites and thoughtful communication. Many homeowners who first try a maintenance topcoat later partner with Majestic for long-term upgrades because the company delivers both immediate beauty and structural confidence.
FAQs: Quick Answers Before You Start
Homeowners often ask practical questions before opening the bottle. Can you use it over hand-scraped textures? Yes, as long as the floor is sealed with a compatible finish and properly cleaned; just apply gently to avoid pooling in grooves. How long before placing rugs? Most guidance suggests a few days so the finish can fully cure under low airflow; use breathable pads to avoid imprinting. What about future refinishing? A maintenance coat does not block professional sanding later, but it must be cleaned and prepped like any existing finish before machine work begins.
Curious about a 32 oz (ounces) bottle versus 1 litre? Coverage depends more on floor porosity, technique, and the number of coats than the container size. The same application principles apply regardless. If in doubt, start with one coat in a smaller room and evaluate. You can always add a second coat to the main living areas if you want extra depth and uniformity.
Your Next Step: Shine Today, Plan for Tomorrow
With a steady hand and the right process, a single afternoon can deliver a room that looks newly finished. Use the guidance above to prep thoroughly, apply thin coats, and protect the cure window, and your floors will reward you with a crisp, glassy reflection. And when you need more than cosmetic care, partnering with experts ensures your investment endures.
Imagine your home a year from now, where high-traffic lanes still gleam and the wood grain glows in every season, supported by a plan that blends smart DIY (do it yourself) maintenance with professional craftsmanship. Which room will you refresh first with a maintenance topcoat or by scheduling a professional service?
Additional Resources
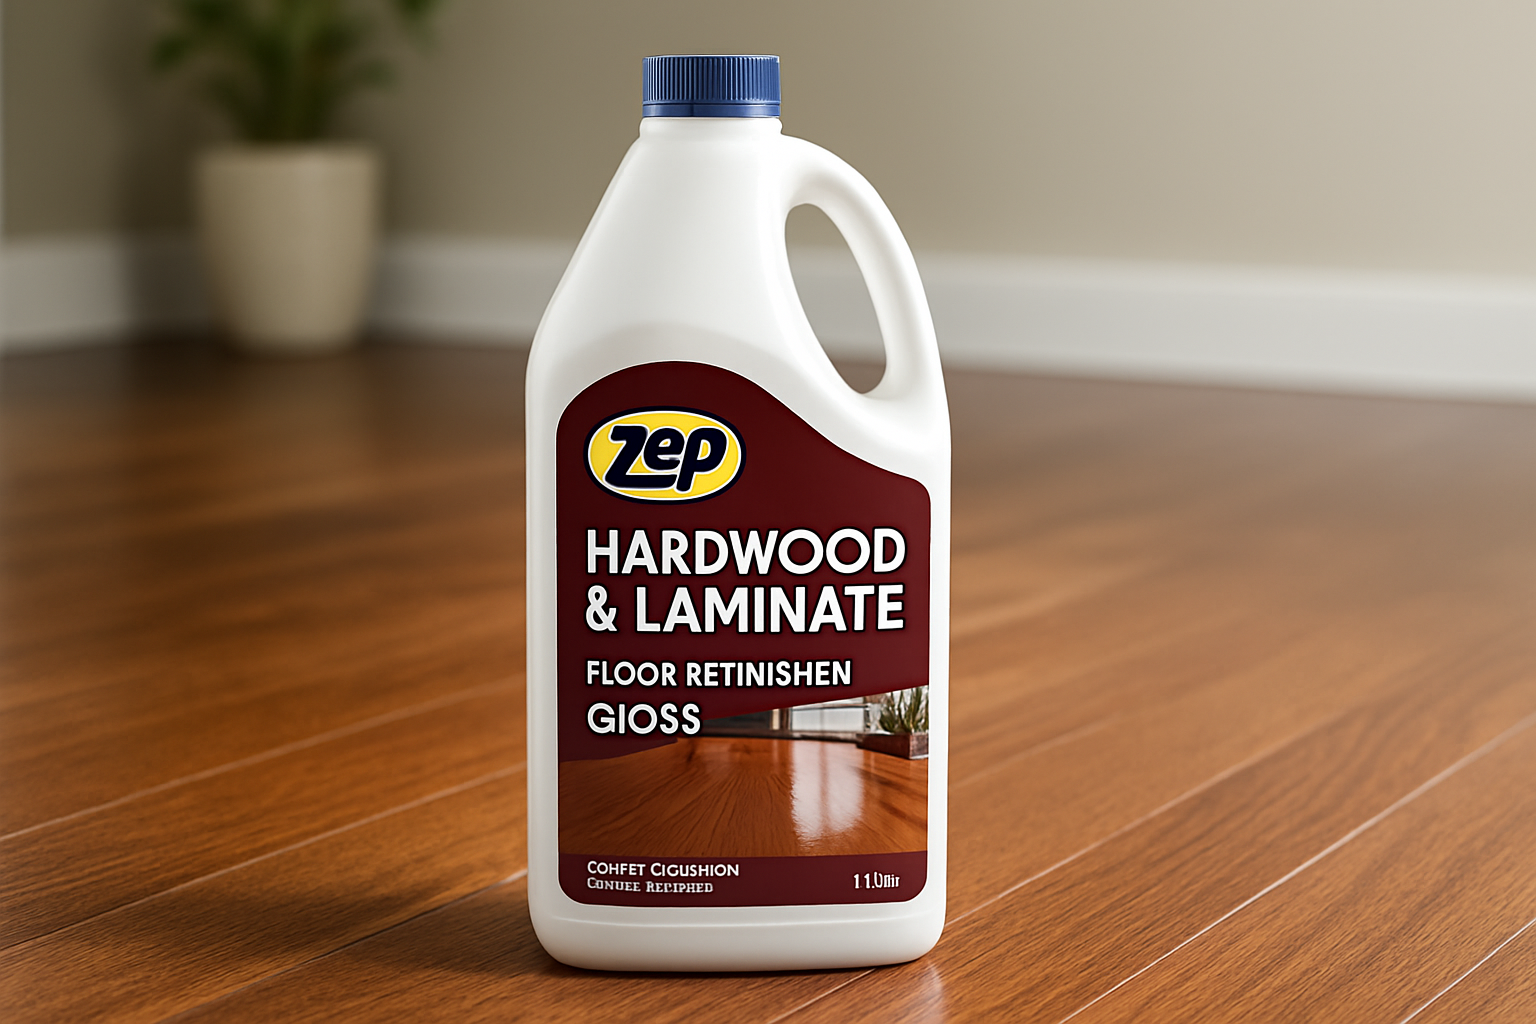
Explore these authoritative resources to dive deeper into zep hardwood & laminate floor refinisher gloss 1ltr.
Shine Smarter with Majestic Hardwood Floors
Experience Professional floor installation with precision and care from Majestic Hardwood Floors, enhancing maintenance topcoat results with refinishing, repair in Big Lake and Minneapolis.
Get Pro Installation


Comments
Post a Comment