Are You Making These Tile Onto Floorboards Mistakes? 9 Costly Errors Homeowners Must Avoid
Are You Making These Tile Onto Floorboards Mistakes? 9 Costly Errors Homeowners Must Avoid
You can absolutely tile onto floorboards, but only when the wood structure and surface are prepared to handle movement, moisture, and weight. Skip those fundamentals and the result can be cracked grout, drummy tiles, and costly rip-outs within months. In this guide, you will learn the nine most expensive mistakes homeowners make, how to avoid each one with practical steps, and when to bring in trusted pros. Along the way, we will show how Majestic Hardwood Floors safeguards wood subfloors so your flooring investment lasts.
Tiling on Wood 101: What You Must Know Before You Start
Wood moves. Seasonal humidity makes floorboards expand and contract across the grain, while live loads cause joists to deflect. Tile, on the other hand, is rigid. That mismatch is why industry standards from the Tile Council of North America [TCNA] and the American National Standards Institute [ANSI] emphasize subfloor stiffness and decoupling under tile. As a rule of thumb, floors supporting ceramic tile should meet L over 360 deflection, and natural stone often requires L over 720. If the structure is bouncy, tiles can crack even when the surface looks perfect.
Moisture is the other villain. In bathrooms, kitchens, and entryways, water sneaks between grout lines and finds wood. When moisture content in timber climbs above roughly 12 percent for long periods, boards can cup, swell, and telegraph movement through the tile. That is why proper underlayment, fastener schedules, and waterproofing matter. It is also where an expert wood-floor contractor like Majestic Hardwood Floors adds value: flattening, stiffening, and repairing the wood so your flooring installation has a stable base and so we can coordinate with your chosen flooring installer.
9 Costly Mistakes When You Tile Onto Floorboards
1. Skipping a Stiffness Check of the Structure
Do you know how much your floor flexes under load? Many failures begin below the boards at the joists. If joist span, spacing, or condition does not meet L over 360 for ceramic, the assembly will bend enough to shear grout and fracture tiles. Use a span calculator, consult framing tables, or have a pro assess joist size, spacing, and span. Reinforcement could involve sistering joists, adding blocking, or shortening spans with a mid-beam. Majestic Hardwood Floors frequently identifies and remedies subfloor issues while performing repairs or installing new hardwood, preventing problems before any finish flooring is laid.
2. Tiling Directly Over Bare Floorboards
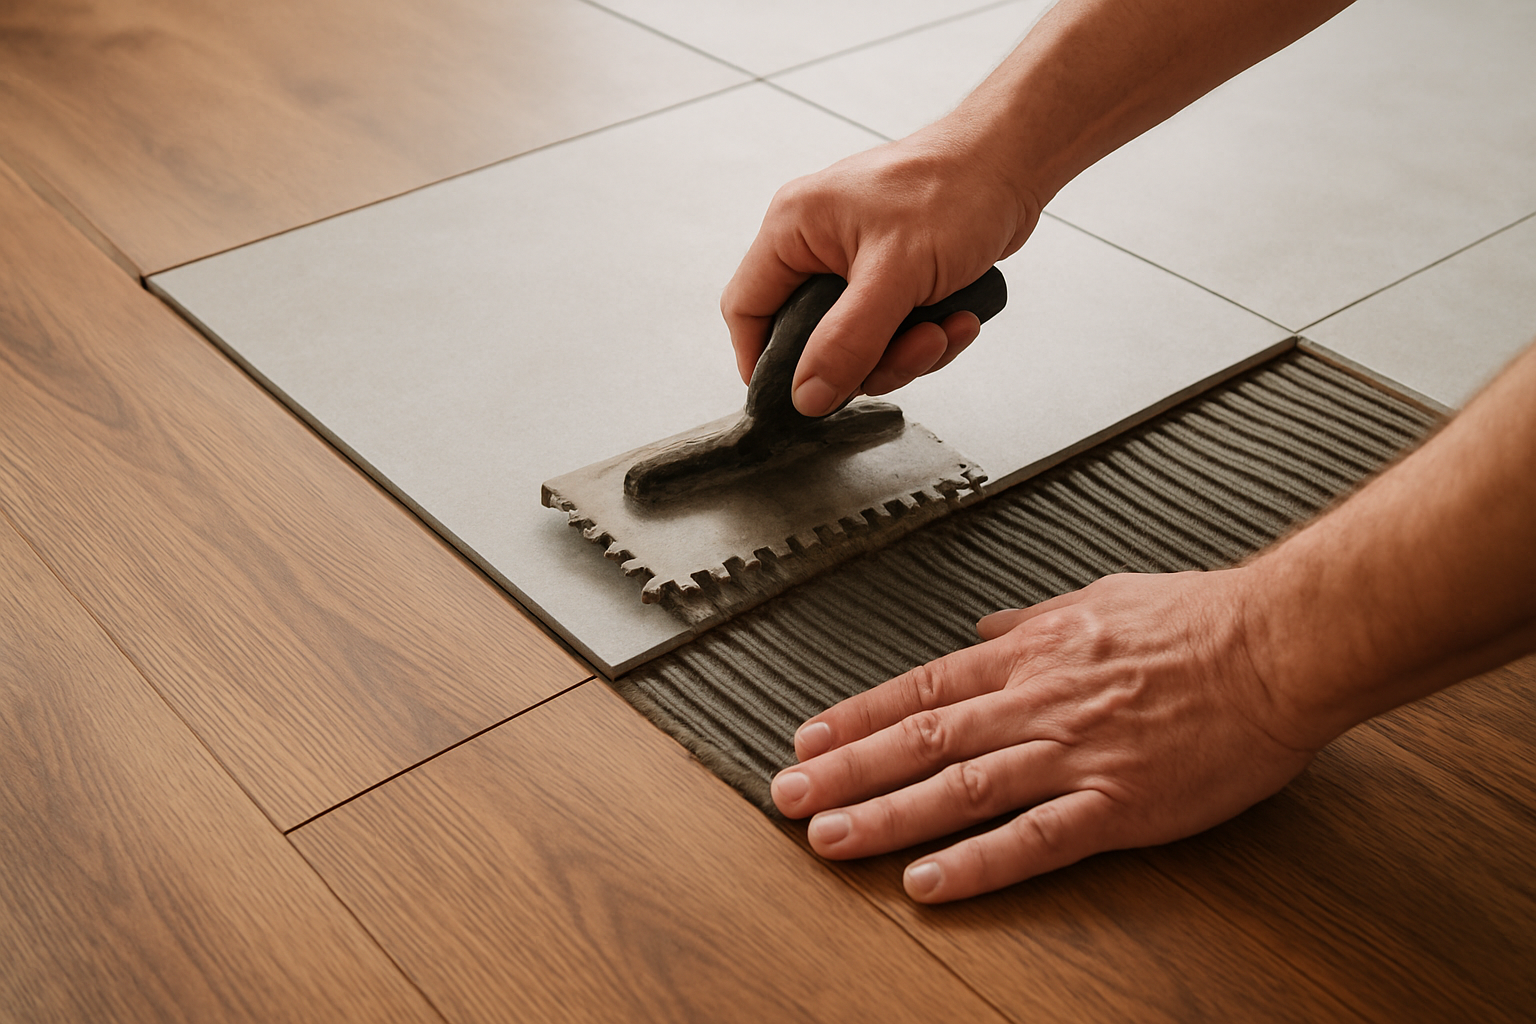
Fast, yes. Smart, no. Solid boards have seams that open and close with seasons and fasteners that can loosen. When you bond tile directly to old boards, every seasonal movement becomes a stress point in your brittle surface. Approved practice is to overlay the floor with exterior-grade plywood to add stiffness; specific tile underlayment products and membranes are selected and installed by tile professionals based on the tile system. The right approach depends on room height constraints, flatness, and moisture risk.
3. Using the Wrong Underlayment or Installing It Incorrectly
Underlayment choices vary with the final finish. Some products provide a bonding surface, others manage shear movement, and some add stiffness. Majestic Hardwood Floors focuses on delivering a stiff, flat wood substrate—commonly via plywood overlays, precise fastening, and repairs—while the installer of the final floor covering (such as a tile setter) selects and installs any tile-specific underlayment per manufacturer instructions. In Big Lake and Minneapolis homes with older plank subfloors, a plywood overlay often delivers the most insurance against movement before a finish flooring installer completes their system.
4. Ignoring Flatness Tolerances
Tiles like large format pieces need very flat floors. Industry guidance typically calls for no more than 1/4 inch variation in 10 feet for standard tile and 1/8 inch in 10 feet for large tiles. High ridges telegraph through, while depressions create voids that lead to hollow sounds and cracked corners. Use a 10-foot straightedge and mark highs and lows. Plane or sand down crowns and fill depressions with a compatible patch or self-leveling underlayment. Majestic Hardwood Floors uses precision sanding and subfloor repairs to bring wood into spec before any additional underlayment or final flooring is installed.
5. Neglecting Moisture Content and Acclimation
Tiling over damp wood is asking for movement. Measure moisture content with a quality meter, aiming for a stable range near 9 to 11 percent indoors in Minnesota. If you recently repaired or replaced boards, allow appropriate acclimation time. In wet zones, consider waterproofing measures appropriate to the finished floor and follow the recommendations of the finish-floor installer. Ensure the space below is well ventilated. Without moisture control, even perfect prep can be undermined by seasonal swings and leaks.
6. Choosing an Inflexible Adhesive or the Wrong Mortar
Adhesive and mortar selection is specific to the tile system and underlayment used. Majestic Hardwood Floors prepares and stabilizes the wood assembly, but the choice of thinset, mortar, or adhesives should be made by the installer of the finished flooring and matched to the underlayment and tile manufacturer instructions. Rely on the flooring professional's recommendations to avoid bond failures caused by mismatched products.
7. Skipping Proper Fastening of Floorboards and Overlays
Squeaks are not just annoying; they signal movement. Before any overlay, resecure loose floorboards with screws driven into joists. Then install the plywood overlay with an every 6 to 8 inches on edges and 8 inches in the field fastening schedule, staggering seams and leaving small expansion gaps around the perimeter. Starved fastener patterns and aligned seams are common shortcuts that invite failure. The difference between a quiet, solid feel and a bouncy mess is often a few dozen extra screws and 30 more minutes of care.
8. Overlooking Transitions, Heights, and Door Clearances
Adding layers raises the finished floor height. If you do not plan transitions, you can create trip hazards, bind doors, or make adjoining rooms feel disjointed. Measure your total build-up: plywood, mortar, backer or membrane, mortar again, and tile thickness. Then plan reducers at thresholds and undercut casings so the tile tucks cleanly. Professional floor installation with precision and care turns these fussy details into a seamless look that feels intentional rather than improvised.
9. Forgetting Future Service: Plumbing Access and Heat Systems
Bathrooms and kitchens change. If you trap access panels, forget cleanouts, or cover radiant heat elements without documenting their layout, repairs become painful. If your project involves electric or hydronic radiant heat, coordinate spacing and embedding details with the system manufacturer and the installer of the finished flooring. Label, photograph, and archive your install. A few minutes of documentation can save hours of detective work later, especially for the next owner.
Tools, Materials, and Standards at a Glance

Clarity reduces risk. This quick reference distills core choices and why they matter. Use it to plan your assembly and to sanity-check advice you find online. Remember, local conditions in Big Lake, Minneapolis, and surrounding areas may change exact product selections, so lean on brand instructions and recognized standards from the Tile Council of North America [TCNA] and the American National Standards Institute [ANSI].
| Component | Primary Purpose | Key Tips | Typical Pitfalls |
|---|---|---|---|
| Exterior-grade plywood overlay | Adds stiffness and a continuous surface | Stagger seams, gap edges 1/8 inch, screw on tight schedule | Aligning seams with subfloor, using interior-grade plywood |
| Tile-specific underlayment (installed by tile professional) | Provides a compatible surface or decoupling layer for tile | Follow tile pro and manufacturer instructions for bedding and fastening | Improper selection or installation by non-specialists |
| Decoupling membranes (installed by tile professional) | Manage shear movement between tile and substrate | Installer must use correct adhesive and coverage | Wrong mortar type, poor coverage, skipped perimeter gaps |
| Self-leveling underlayment | Achieves flatness for large tile | Prime first, respect minimum thickness, dam openings | Pours on unprimed wood, trapping moisture |
| Polymer-modified thinset (used by tile professionals) | Adhesion with slight flexibility | Match to substrate and tile, watch pot life | Using premixed mastic on floors or large tiles |
Underlayment comparison for planning height and performance:
| Option | Added Height | Best For | Pros | Cons |
|---|---|---|---|---|
| 1/2 inch plywood overlay | Approx. 1/2 inch | Old planks needing stiffness | Structural contribution, screws to wood cleanly | Raises floor, needs precise fastening |
| Tile-specific underlayment (installed by tile professional) | Varies by product (approx. 1/8 inch to 1/4 inch) | Flat, already-stiff floors where tile is the finish | Provides bonding or decoupling as designed | Requires installer expertise and correct mortar selection |
| Decoupling membrane (installed by tile professional) | Approx. 1/8 inch to 1/4 inch | Managing shear movement | Reduces stress transfer | Requires precise mortar selection |
Cost, Timeline, and When to Call a Pro
Budgeting prevents corner-cutting. In the Upper Midwest, materials to prepare a typical 100 to 150 square foot bathroom floor over wood often range from a few hundred to over a thousand dollars, depending on overlay choice and tile size. Labor varies with demolition, repairs, and layout complexity. Industry surveys suggest that most tile failures originate in substrate issues rather than tile quality itself, a reminder that preparation is where money is best spent. If your house is older, spans are long, or rooms are out of level, professional help pays for itself.
| Path | Estimated Cost | Estimated Timeline | Risk Level | What You Gain |
|---|---|---|---|---|
| DIY [do it yourself] with research | Lower upfront, higher risk of rework | 2 to 4 weekends for prep and tile | Medium to High | Learning experience, control of schedule |
| Hire tile setter only | Moderate to high | 3 to 7 days | Medium | Professional tile layout and finish |
| Team: wood-floor pro + tile pro | Higher upfront, lowest rework risk | 1 to 2 weeks including structural prep | Low | Stiff, flat substrate plus flawless tile |
How do you decide when to bring in experts? If you detect pervasive squeaks, feel bounce, measure significant dips or crowns, or need major board and joist repairs, call a wood-floor specialist before the flooring crew. Majestic Hardwood Floors regularly stiffens subfloors, replaces damaged boards, and flattens surfaces in Big Lake, Minneapolis, and surrounding communities. That coordination with finish-floor installers allows the final phase to proceed on time and on spec, lowering risk and often shortening the overall schedule.
How Majestic Hardwood Floors Safeguards Your Project
Homeowners often face worn, damaged, or poorly installed hardwood floors that compromise the look and structure of their spaces. Majestic Hardwood Floors is a family-owned business with over 40 years of experience crafting, installing, refinishing, and repairing hardwood. Our team approaches wood substrates with builder-grade rigor: we evaluate joists, resecure loose planks, replace damaged sections, and install overlays with tight fastener patterns. That attention to the wood layer is exactly what a successful finish flooring installation needs beneath it.
Our core services include professional floor installation with precision and care, expert floor refinishing services to restore floors, and floor repair to fix scratches, dents, and replace damaged boards. For customers committed to tile in bathrooms or kitchens, we coordinate with tile professionals and recommend substrate preparation that aligns with recognized standards, so the finish-floor installer starts on a properly stiffened, flat, and clean surface. Prefer the warmth of hardwood instead? We can install water-resistant species and finishes in adjacent spaces for visual continuity, blending function and style across the entire home.
Consider a real-world example. A Minneapolis craftsman home had 1x6 plank subfloors over long joist spans. The hall bathroom tile kept cracking near the doorway. Our team assessed the framing, sistered joists at mid-span, resecured loose planks, overlaid with 1/2 inch exterior-grade plywood, and corrected 3/8 inch of crown using precision sanding and patching. With a reputable tile setter adding the tile-specific underlayment and finishing the tile work, the homeowner now enjoys a silent, flat floor without a single grout issue after two winters.
Quick Pre-Tile Checklist for Wood Subfloors
Use this concise checklist to reduce risk before a single tile is set. When in doubt, ask for help. Your future self will thank you every time you walk across a silent, solid floor.
- Structure: Verify joist size, span, spacing, and target deflection of L over 360 for ceramic.
- Fastening: Screw down every loose board and add blocking where squeaks persist.
- Flatness: Map highs and lows with a long straightedge and correct to within tolerance.
- Overlay: Install exterior-grade plywood with staggered seams and proper fastener schedule.
- Underlayment: For tile, consult your tile professional about appropriate underlayment; for hardwood, we'll advise on plywood overlays.
- Moisture: Check wood moisture content near 9 to 11 percent; plan waterproofing in wet zones and follow the finish-floor installer's recommendations.
- Adhesive: Let the finish-floor installer select compatible adhesives or mortars per manufacturer instructions.
- Transitions: Plan thresholds and door undercuts to handle added height cleanly.
- Documentation: Photograph radiant heat layouts and plumbing access before covering.
Common Mistakes, Symptoms, and Fixes at a Glance
Cross-check your plan against these red flags and remedies. If any of the symptoms already appear in your home, address them before continuing, or consult a pro to scope the fix.
| Mistake | What You Notice | Why It Happens | Best Fix |
|---|---|---|---|
| No structural check | Bouncy feel, cracked grout at mid-span | Joists span too long for load | Sister joists, add beam or blocking |
| Tiling on bare boards | Hollow sounds, hairline tile cracks | Seasonal board movement | Add plywood overlay and coordinate underlayment choice with the finish-floor professional |
| Wrong underlayment | Loose tiles near seams | Seam alignment, poor fastening | Reinstall per manufacturer schedule with the appropriate installer |
| Out-of-flat substrate | Lippage between tiles | High crowns or low dips | Plane highs, fill lows to tolerance |
| Moisture mismanagement | Cupping, squeaks return | High wood moisture content | Dry to target, add waterproofing as recommended by the finish-floor installer |
| Inflexible mortar | Bond failures at corners | Mortar not suited to movement | Have the tile professional use a mortar specified for the assembly |
When you plan carefully, each layer of the assembly has a job: wood structure for stiffness, overlay for continuity, underlayment to manage movement, adhesive for bonded support, and tile for the durable finish. That orchestration is exactly what a seasoned wood-floor expert facilitates on day one. Whether your end goal is a new tile bathroom or a gleaming hardwood upgrade, Majestic Hardwood Floors brings a craftsman’s eye to every board, screw, and seam so the finished surface performs and looks the part. With that approach, you can tile onto floorboards confidently and enjoy the space for years.
Flawless floors are built, not wished for. Imagine stepping onto a silent, glass-flat bathroom floor next winter, knowing your prep will sail through every freeze-thaw cycle. In the next 12 months, a thoughtful plan today can prevent expensive repairs and protect your home’s value. What would change for you if every floor in your home felt as solid and refined as it looks?
Additional Resources
Explore these authoritative resources to dive deeper into tile onto floorboards.
Elevate Your Flooring Prep with Majestic Hardwood Floors
Get professional floor installation with precision and care from Majestic Hardwood Floors, helping Big Lake and Minneapolis owners prepare wood substrates or choose stunning, long-lasting hardwood and coordinate effectively with finish-floor installers.
Secure Stable Floors


Comments
Post a Comment