The Ultimate Hardwood Floor Installation Checklist: 12 Steps to Flawless Results for Every Home
The Ultimate Hardwood Floor Installation Checklist: 12 Steps to Flawless Results for Every Home
If you are planning hardwood floor installation, this guide gives you a clear, step-by-step path to success while avoiding common pitfalls that waste time and budget. Whether your project is a single room or a full-home makeover, you will learn how to measure, acclimate, prep the subfloor, and execute a clean layout that stays beautiful for decades. Along the way, we will highlight expert practices used by Majestic Hardwood Floors, a family-owned leader serving Big Lake, Minneapolis, and surrounding communities. Ready to walk through a proven process that balances craftsmanship and practicality? Let us build your plan from the ground up.
Why a Checklist Matters for Long-Lasting Floors
Hardwood flooring is both a surface you enjoy every day and a structural layer that expands, contracts, bears loads, and interfaces with trim and doors. A detailed checklist ensures each step supports the next, so you can minimize movement, squeaks, and gaps as seasons change. Industry groups such as the National Wood Flooring Association [NWFA] emphasize that surface beauty depends on fundamentals you cannot see, particularly subfloor preparation and moisture control. In other words, what happens under the boards determines how the floor performs above them.
Without a roadmap, projects can drift: a missed moisture check leads to cupping, poor fastening causes hollow spots, or forgotten expansion gaps pinch the floor at walls and doorways. A structured process keeps you honest about conditions, tools, and timing so you can set realistic expectations and make smart trade-offs. As you use this checklist, think like a builder and a designer at once: what will make this floor dimensionally stable and what will make it look exceptional in your light, layout, and daily traffic?
Plan Like a Pro: Materials, Layout, and Moisture Control
Strong projects begin with clear goals: species, color, plank width, thickness, and finish system must align with your lifestyle and site conditions. Oak remains a versatile favorite, while maple and cherry offer distinct grain and hardness; wider planks feel luxurious but demand tighter control of moisture to limit seasonal gaps. Decide early whether you want prefinished boards for speed and durability out of the box, or site-finished floors for a continuous, custom look. Equally important is your installation method: nail-down over wood subfloors, glue-down over concrete, or floating for certain LVP/LVT products that click or glue along their edges.
Layout sets the tone of your space. Most installers align boards parallel to the longest wall or the main light source, then plan transitions and threshold pieces at doorways. Create a simple sketch that marks room dimensions, starting wall, and any focal lines. Above all, manage moisture like a pro: stabilize interior temperature between roughly 60 and 80 degrees Fahrenheit and keep relative humidity near mid-range (often 30 to 50 percent, depending on the manufacturer). Use a wood moisture meter to compare boards and subfloor, and acclimate the flooring as directed by the manufacturer. This disciplined prep enables trouble-free fastening and finishing.
| Option | Best Use | Key Advantages | Considerations |
|---|---|---|---|
| Solid Hardwood | Above-grade rooms with wood subfloors | Long service life, can be refinished many times | Sensitive to seasonal moisture; avoid direct glue on concrete |
| Luxury Vinyl Plank/Tile (LVP/LVT) | Above- or below-grade, over wood or concrete; good for moisture-prone areas | High dimensional stability, waterproof options, wide design choices | Cannot be sanded; repair or replacement may be required for wear |
| Prefinished Boards | Faster turnarounds, minimal jobsite odor | Factory-cured finish; uniform sheen; immediate use | Slight micro-bevels; touch-up at cuts and transitions |
| Site-Finished Boards | Custom color and seamless field appearance | Level surface after sanding; tailored sheen | More dust control and dry time; skilled finishing required |
Hardwood Floor Installation: The 12-Step Checklist
Use the following 12 steps as your field-ready checklist. Print it, mark progress, and make notes for each room. If you work with a professional, align on these milestones so expectations remain clear and timing stays predictable for furniture, paint, and trim work.
- Measure and Calculate Waste: Measure each room and add 5 to 10 percent overage for waste, more for herringbone or complex layouts. Confirm plank widths against door clearances and trim reveals.
- Verify Site Conditions: Stabilize interior temperature and relative humidity. Ensure windows and drywall are installed and painted, with wet trades complete, before bringing wood into the space.
- Acclimate the Flooring: Bring boxes into the rooms where they will be installed. Open packaging as directed by the manufacturer and allow time for moisture equilibrium.
- Test Subfloor Moisture and Flatness: Check wood subfloors with a wood meter and confirm moisture readings are within manufacturer limits. For concrete, use approved tests (for example, in-slab probes per relevant standards) when a glue-down installation is planned. Plane or fill to achieve flatness.
- Prepare the Subfloor: Tighten fasteners, patch low spots, and sand high seams. Vacuum thoroughly. Install an appropriate underlayment or vapor retarder as specified for your method.
- Plan the Layout and Expansion Gaps: Snap chalk lines for straight reference and dry-lay a few rows. Maintain expansion space at walls, columns, fireplaces, and transitions using spacers.
- Sort and Blend Boards: Mix boxes to distribute color and grain variations naturally. Set aside boards with unique character for focal areas and cut boards for closets.
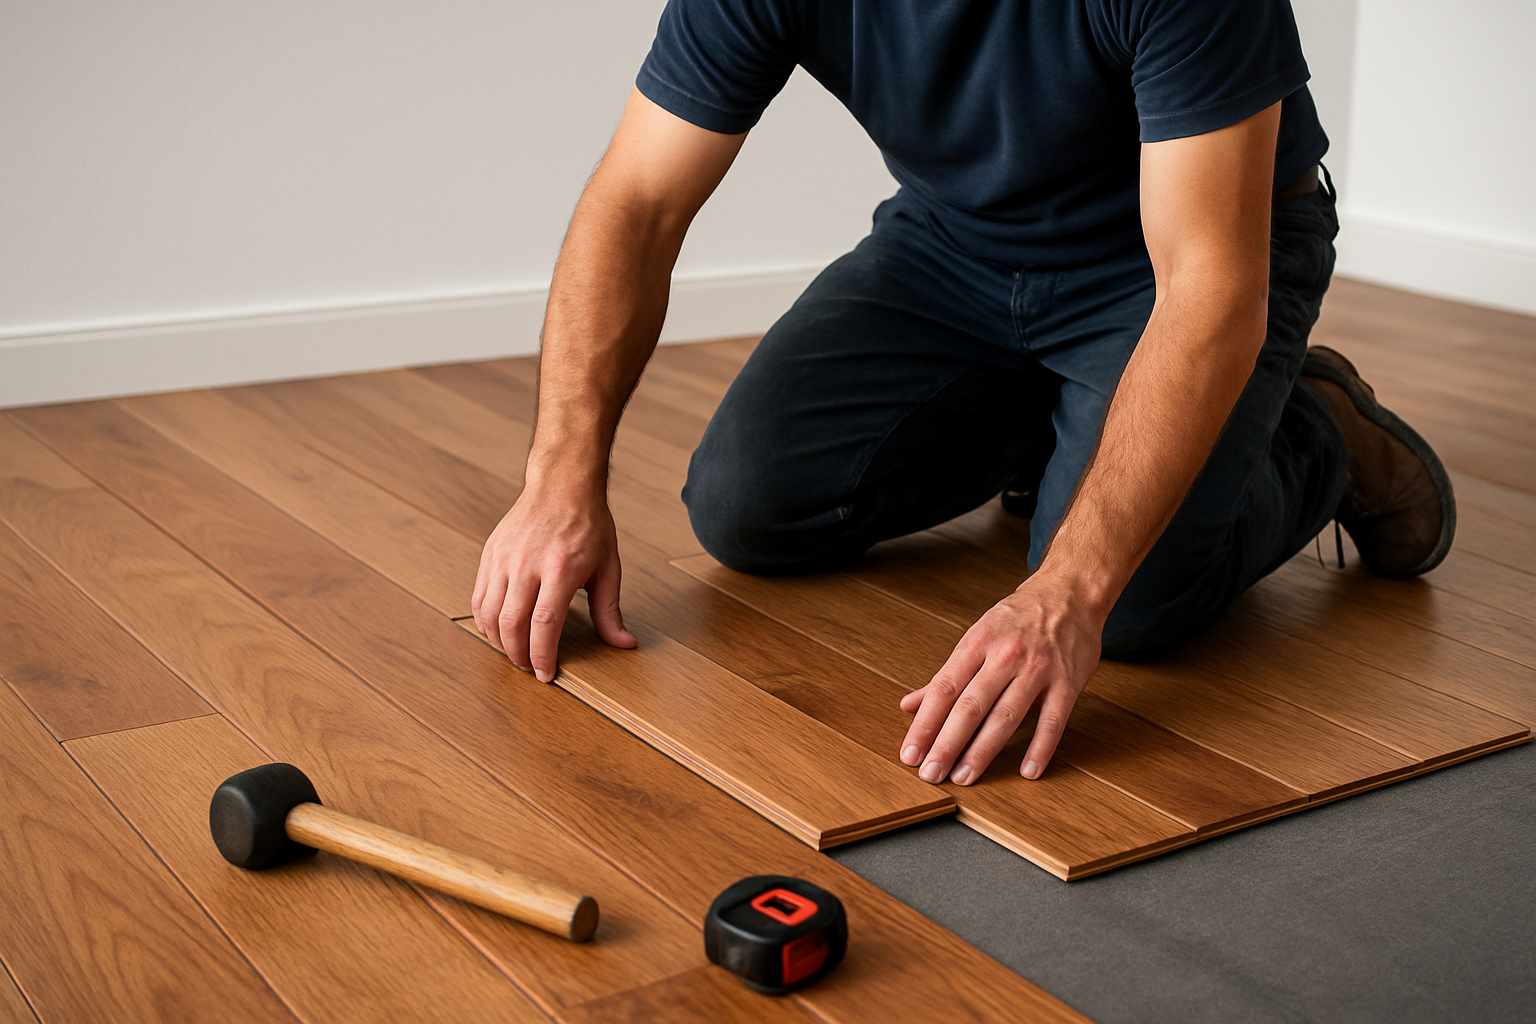
- Set the First Row: Start on the most visible straight wall. Face-nail or glue the first row, checking alignment every few feet. A perfect first row keeps joints tight throughout.
- Fasten or Bond Properly: Use the correct fastener type, length, and schedule for nail-down or staple installations; for glue-down, trowel the right adhesive and work within open time.
- Stagger End Joints: Keep end-joint offsets appropriate to plank width and manufacturer guidance. Avoid H-patterns and clusters that draw the eye.
- Address Transitions and Details: Undercut door jambs, fit nosings at stair landings, and place T-moldings or reducers where flooring meets tile or carpet. Maintain expansion space beneath trim.
- Finish, Clean, and Protect: For prefinished floors, reinstall base and shoe molding and perform a careful clean. For site-finished floors, sand, then apply finish coats per product directions, and protect from traffic until cured.
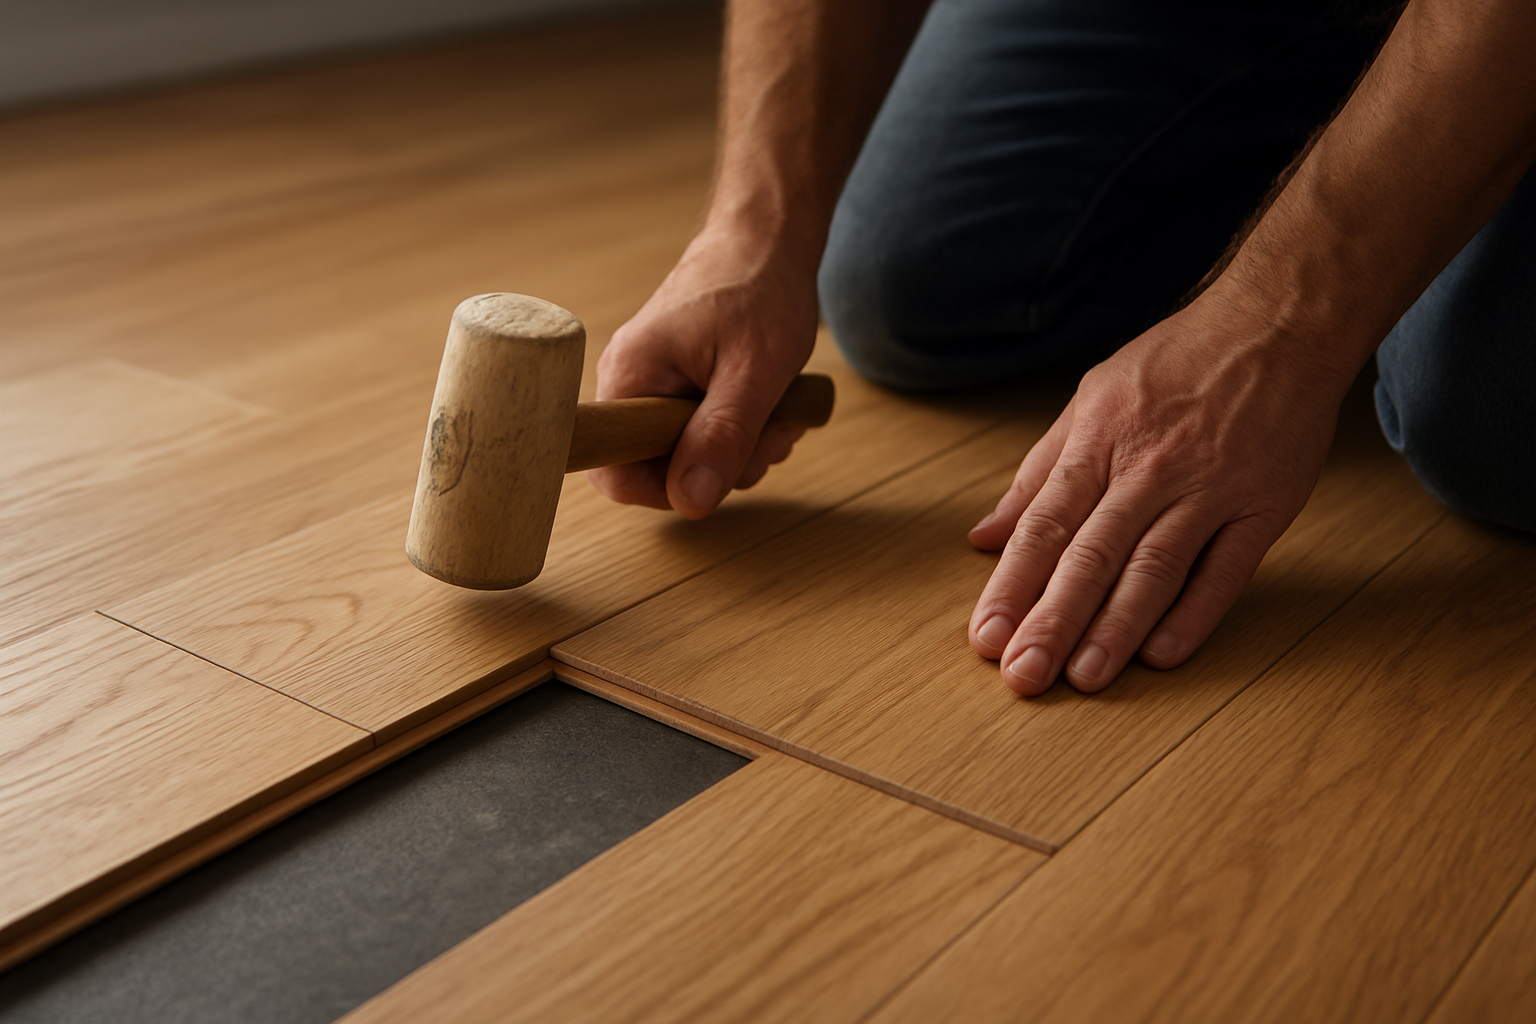
Tools, Timing, and Cost: What to Expect
Knowing what tools you need, how long each phase takes, and how costs add up keeps your project on schedule and within budget. At minimum, you will want a reliable moisture meter, chalk line, spacers, tapping block, pull bar, saws for rips and crosscuts, and a flooring nailer or qualified adhesive system. Pros also use dust collection, oscillating tools for undercuts, and laser levels to speed layout. Time varies by room complexity, but most living spaces follow predictable patterns: planning day, acclimation window, installation days, then finishing or trim. If you are coordinating other trades, schedule painting and cabinet work before installation and final touch-up after base molding is reinstalled.
- Essential tools: moisture meter, flooring nailer or stapler, miter saw, table saw, oscillating tool, trowels (for glue-down), vacuum, and protective knee pads.
- Consumables: fasteners matched to thickness, specified adhesive, vapor retarder, wood filler, matching vents, and transition profiles.
- Trim and details: baseboards, shoe molding, thresholds, stair nosings, and color-matched touch-up kits.
| Phase | Typical Duration | Key Dependencies | Budget Notes |
|---|---|---|---|
| Planning & Selection | 1 to 3 days | Design approvals, material availability | Species and width drive material cost per square foot [sq ft] |
| Acclimation | 2 to 7 days | Stable indoor temperature and relative humidity | Time varies by season and manufacturer guidance |
| Subfloor Prep | 0.5 to 1 day per room | Flattening, fastening, vapor retarder | Minor materials: patch, fasteners, underlayment |
| Installation | 200 to 400 square feet [sq ft] per day | Room shape, plank size, obstacles | Labor scales with complexity (angles, vents, stairs) |
| Finishing (if site-finished) | 2 to 3 days including cure | Coat count, ventilation, temperature | Oil vs waterborne finish affects dry time and odor |
| Trim & Cleanup | 0.5 to 1 day | Baseboard, shoe molding, transitions | Consider touch-up paint and caulk |
Avoiding Pitfalls and How Pros Fix Problems
Most flooring headaches trace back to hidden moisture, insufficient flatness, or rushed fastening. Cupping, gaps, or hollow-sounding spots are symptoms, not causes. Professionals lean on process: they document site conditions, verify moisture alignment between subfloor and planks, and follow fastening schedules that match thickness and species. When something does go wrong, the fix is diagnostic, not cosmetic. A cupped area might require dehumidification and monitoring before sanding; widespread hollow spots could mean selective board removal and adhesive injection or reinstallation if bonding failed.
Majestic Hardwood Floors brings decades of craft to these moments, combining meticulous measurement with practical solutions. Consider a recent Big Lake living room with heavy sun exposure and slightly out-of-flat subfloors. The team corrected the plane, recommended a more dimensionally stable plank product such as LVP for the sun-exposed area, and glued down the field with manufacturer-specified trowel and spread rates. Where a previous installer had left visible H-patterns at joints, Majestic re-laid courses with proper staggering and re-trimmed transitions for a refined line. For homeowners with worn or damaged floors, expert floor refinishing services restore color and sheen, while targeted floor repair replaces dented or scratched boards and blends them seamlessly into the existing field.
| Subfloor Type | Common Test | Typical Readiness Guidance | Notes |
|---|---|---|---|
| Plywood or Oriented Strand Board [OSB] | Wood moisture meter | Subfloor and flooring within manufacturer-specified range | Document readings room by room before installation |
| Concrete (for glue-down) | In-slab relative humidity probes or equivalent standard | Within adhesive manufacturer limits for relative humidity | Follow adhesive data sheet for trowel size and open time |
After the Install: Care, Refinishing, and Long-Term Value
Great floors are a daily pleasure, but they are also a long-term investment that rewards simple, consistent care. Place walk-off mats, felt-pad furniture feet, and use dust-mop routines to lift grit that acts like sandpaper. Maintain indoor relative humidity within the manufacturer’s recommended range to reduce seasonal movement. For finish care, choose cleaners made for polyurethane or hardwax finishes and avoid water saturation. If your floor sees heavy traffic or pets, consider a maintenance coat before the surface wears down to bare wood.
One reason hardwood is a perennial favorite is its renewability. When scratches accumulate or colors date, professionals can deep-sand and recoat to look new again, or replace damaged boards and blend them to match. Majestic Hardwood Floors offers expert floor refinishing services to restore floors and targeted floor repair for scratches, dents, or isolated water damage. Home listings in many markets highlight real hardwood because it signals quality and longevity, which can strengthen resale appeal. Your goal is not just a beautiful install day, but a floor that stays quiet underfoot, resists wear, and keeps delivering warmth and value for decades.
Why Majestic Hardwood Floors for Your Project? Homeowners often face worn, damaged, or poorly installed hardwood floors that undermine both aesthetics and structure. Majestic Hardwood Floors addresses these issues with professional floor installation with precision and care, plus refinishing and repair backed by more than 40 years of hands-on expertise. From Big Lake to Minneapolis and nearby areas, the team focuses on disciplined site preparation, careful layout, and meticulous finishing so your home gains the timeless character only real wood can deliver. If you want a partner who treats your rooms like a craft project rather than a commodity, you will feel the difference from the first measurement to the final walk-through.
Pro Tips from the Field:
- Dry-lay two full rows before fastening to validate pattern, board blend, and joint staggering.
- Check every fifth row against your chalk line; small corrections early prevent big deviations later.
- Use blue tape on prefinished edges when cutting tight notches at casings to prevent splinters.
- Protect new floors with breathable coverings during remaining construction; avoid plastic sheeting that traps moisture.
Finishing Insights: Waterborne finishes cure fast with low odor and a clear tone, while oil-modified systems bring a warmer, amber cast and longer open time. Satin sheens hide daily wear better than high gloss, especially in wide-open living areas. If you want custom color, professional stain application on site-finished floors offers intricate control; for maximum speed and predictable outcomes, modern prefinished products deliver impressive durability right out of the box. When in doubt, ask for samples under your room’s lighting and view them at different times of day to see how the grain and color respond.
Real-World Scenario: A Minneapolis homeowner with radiant heat wanted wide-plank stability and a natural, matte look. Majestic Hardwood Floors recommended a high-performance LVP plank with a realistic white-oak look and a thick wear layer, floated with the manufacturer’s approved underlayment to accommodate the heating system and minimize seasonal movement. The team balanced board selection for consistent tone across open sight lines and installed matching flush vents for a seamless finish. The result combined comfort, quiet, and a gallery-worthy surface that remains easy to maintain through long winters and humid summers alike.
Your Quality Checklist, Summarized:
- Verify stable indoor conditions, moisture alignment, and subfloor flatness before opening a single box.
- Lay out your reference lines, expansion gaps, and transition locations before you fasten the first board.
- Follow fastening or adhesive schedules exactly, and keep end joints staggered with no visual patterns.
- Protect the new surface, reinstall trim with clean lines, and set a care routine from day one.
Looking for help turning this checklist into a flawless floor? Majestic Hardwood Floors combines planning discipline with thoughtful craftsmanship, delivering professional floor installation with precision and care, plus expert refinishing and targeted repairs when needed. With a transparent process and meticulous site standards, your rooms can gain the timeless warmth of hardwood and the quiet confidence of work done right.
Statistics to Consider: Industry groups consistently report that most flooring failures trace back to moisture or subfloor prep rather than the wood itself. In practice, that means carefully documenting conditions and following manufacturer guidance prevents the vast majority of callbacks. Professional installers also report that wider planks magnify small errors in plane or fastening, so the more dramatic the design, the more important your fundamentals become. Translation: a little extra time spent measuring, flattening, and aligning pays you back every day you live on the floor.
A Note on Sustainability: Hardwood is a renewable resource when sourced responsibly, and many modern finishes are formulated for low emissions. Discuss certifications, regional sourcing, and finish systems with your installer if environmental criteria matter to your project. Majestic Hardwood Floors can help you evaluate species, thickness, and finish options that balance beauty, performance, and stewardship, so your floor feels as good as it looks.
When to Call a Pro: If you encounter persistent moisture readings, subfloor deflection, complex stairs, or a challenging pattern such as herringbone, professional help will save time and reduce risk. Pros like Majestic Hardwood Floors bring specialized tools and seasoned judgment to layout, fastening schedules, and finishing methods. For homeowners in Big Lake, Minneapolis, and nearby areas, that experience often makes the difference between a good floor and an unforgettable one.
Materials and Accessory Checklist:
- Flooring: species, grade, width, thickness, finish type, stair nosings, and matching vents.
- Underlayments: vapor retarder as specified; sound or thermal layer if required by the building.
- Fasteners or Adhesives: size and type per manufacturer; trowel notch matched to adhesive.
- Trim: baseboard, shoe molding, reducers, T-moldings, thresholds at bathrooms and exterior doors.
Quality Control Before You Call It Done: Walk the floor in soft-soled shoes and listen for squeaks or hollows; check lines at transitions, doorways, and along base molding; confirm expansion space remains consistent where hidden by trim. Lightly roll a straightedge across suspect areas to verify plane, and keep a few extra boards labeled by room for future repairs. Finally, document finish products and colors so touch-ups and maintenance coats match perfectly years from now.
How Majestic Hardwood Floors Delivers Peace of Mind: From the first moisture reading to the final base shoe nail, the team documents conditions and communicates clearly. Their professional floor installation with precision and care prevents costly do-overs, while expert floor refinishing services and targeted floor repair keep existing hardwood looking new. If you value craftsmanship and accountability as much as beauty, you will appreciate working with a crew that treats your home like their portfolio.
Checklist Recap for Fast Reference:
- Measure, plan, and select materials aligned with room use and climate.
- Stabilize conditions, acclimate boards, and verify moisture readiness.
- Flatten and secure subfloors; install vapor retarders and underlayments.
- Lay out straight lines, expansion space, and transitions.
- Sort boards and begin with a perfect first course.
- Fasten or bond per schedule; stagger joints thoughtfully.
- Finish, clean, trim, and protect until fully ready for move-in.
Service Beyond Installation: Life happens: pets, parties, and seasonal swings leave their marks. Majestic Hardwood Floors offers periodic maintenance, deep refinishing when styles change, and surgical board replacement for localized damage. This full lifecycle approach ensures your hardwood remains a highlight of your home. When you want your floor to look like day one again, the right team can make “before and after” feel like magic.
Next Steps: Use the 12-step checklist to assess your rooms and timeline, then decide whether you prefer to self-manage or partner with a pro. If you want expert guidance on species choice, layout optimization, and a smooth installation process, schedule a consultation. You will gain clarity on cost, timing, and the best method for your specific subfloor and lifestyle.
Local Expertise, Human Craft: In Big Lake, Minneapolis, and the surrounding areas, climate swings make planning essential. Majestic Hardwood Floors understands these conditions and builds installations to thrive through dry winters and humid summers. That local knowledge, paired with careful technique, produces floors that feel solid, quiet, and beautifully aligned with your home’s character.
You Are Ready: With a clear plan, a disciplined sequence, and a trusted partner, you can expect consistently tight joints, clean lines at transitions, and a surface that welcomes every step. That is the real promise of a great hardwood floor: strength you can feel and beauty you can see, every single day.
Final Thought: A floor is not just a finish; it is the stage for your life. Set it right once and enjoy it for decades.
Punchy Recap: Follow this 12-step plan and your hardwood will look stunning, sound quiet, and last for years with minimal fuss. Imagine the next 12 months with a floor that enhances every room, every season, and every gathering. What will your daily routine feel like when every step is supported by a carefully planned, expertly executed hardwood floor installation?
Additional Resources
Explore these authoritative resources to dive deeper into hardwood floor installation.
Perfect Your Hardwood Floor Installation with Majestic Hardwood Floors
Get Professional floor installation with precision and care, refinishing, and repairs from Majestic Hardwood Floors for homeowners in Big Lake, Minneapolis, delivering lasting beauty backed by decades of excellence.
Schedule Installation


Comments
Post a Comment